5 Mistakes Beginner Bakers Make
And how to easily fix them!

You think you’ve followed a recipe. And in the end? It just doesn’t deliver on texture or taste. What went wrong? Here’s a rundown of the common mistakes beginner bakers make—I was guilty as well of some of these when I started out— and how to improve your skills.
Here’s a rundown of the common mistakes beginner bakers make—I was guilty of some of these as well when I started out—and how to improve your skills.
1) You didn’t really follow the recipe.
Pablo Picasso (yes, that one) once said:
“Learn the rules like a pro, so you can break them like an artist.”
This applies to baking as well.
So many people say they followed a recipe and lament that it just didn’t turn out.
When pressed? Well, they didn’t have this ingredient, so they left it out. They didn’t have strong flour, so they just used whatever flour they had on hand.
Even more than many other types of cooking, baking relies on chemistry. You can’t hope to swap one ingredient for another until you understand what that ingredient contributes to the recipe.
So if every bread recipe you find tells you to use strong or bread flour—just get a bag of bread flour.
The solution?
Get all the ingredients a new recipe calls for and follow it to the letter. Once you have a success, you can begin reasoning if—and how—to tweak the recipe.
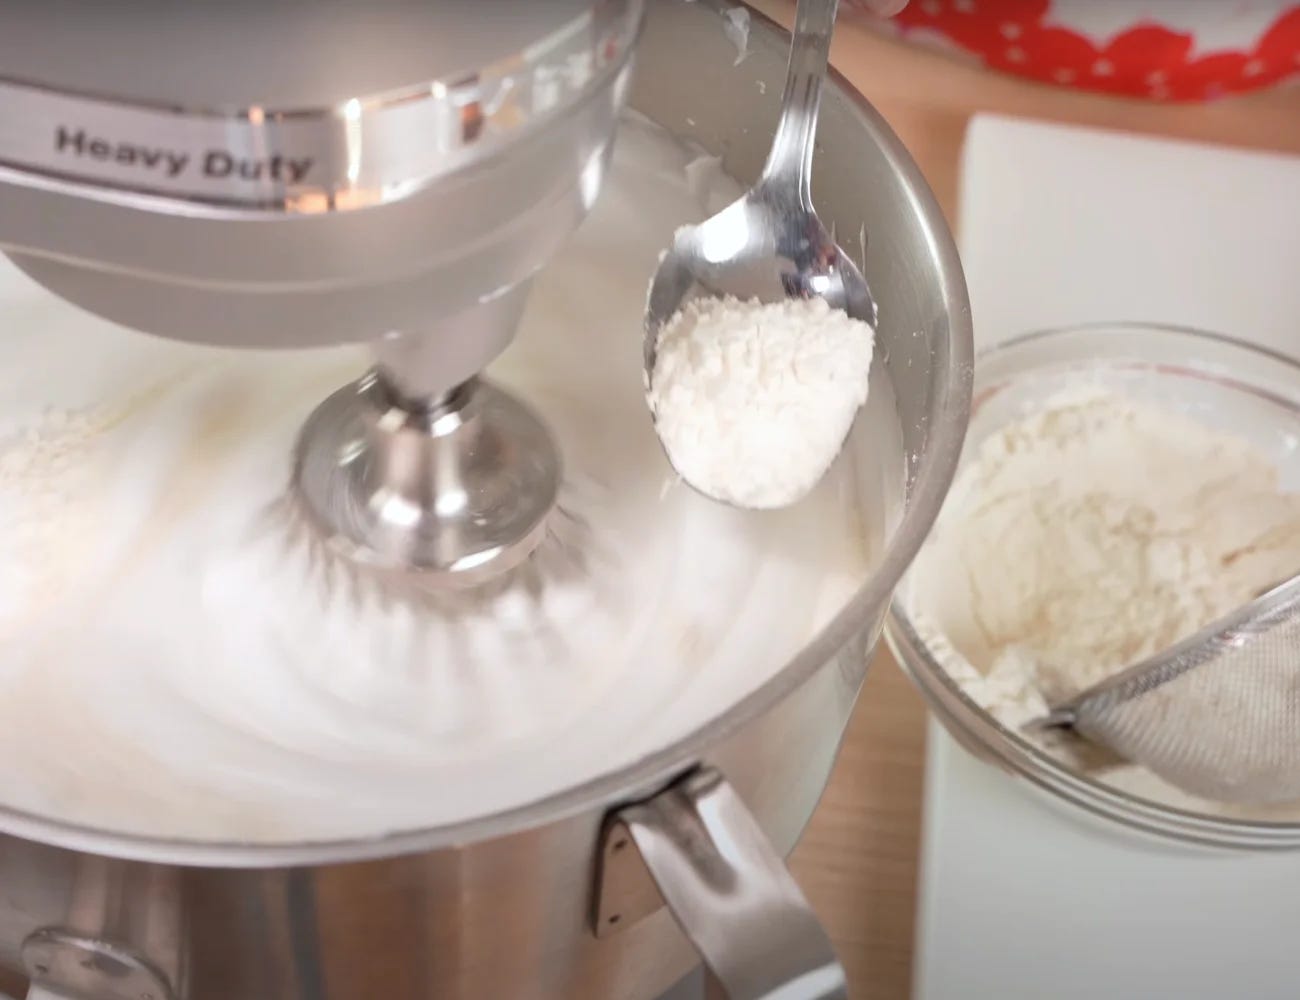
2) You think all flours are the same.
Speaking of flour… not understanding the differences between flours trips up many beginner bakers. Flours differ in many ways:
how much they are processed (coarse vs. fine)
the amount of gluten and protein they contain
whether the grain variety supports stretching vs. rising (think pasta vs. bread flours)
The famous “all-purpose” flour tries to balance these features—but not in the same way across brands. One all-purpose flour may have enough gluten to get through a bread proof, while another does not. These differences lead to inconsistent baking results.
The solution?
Always keep on hand: pastry flour, bread flour, and pasta flour (if you make pasta). Pasta flour can be stored in the freezer, so why not make sure you have the right flour for the job?
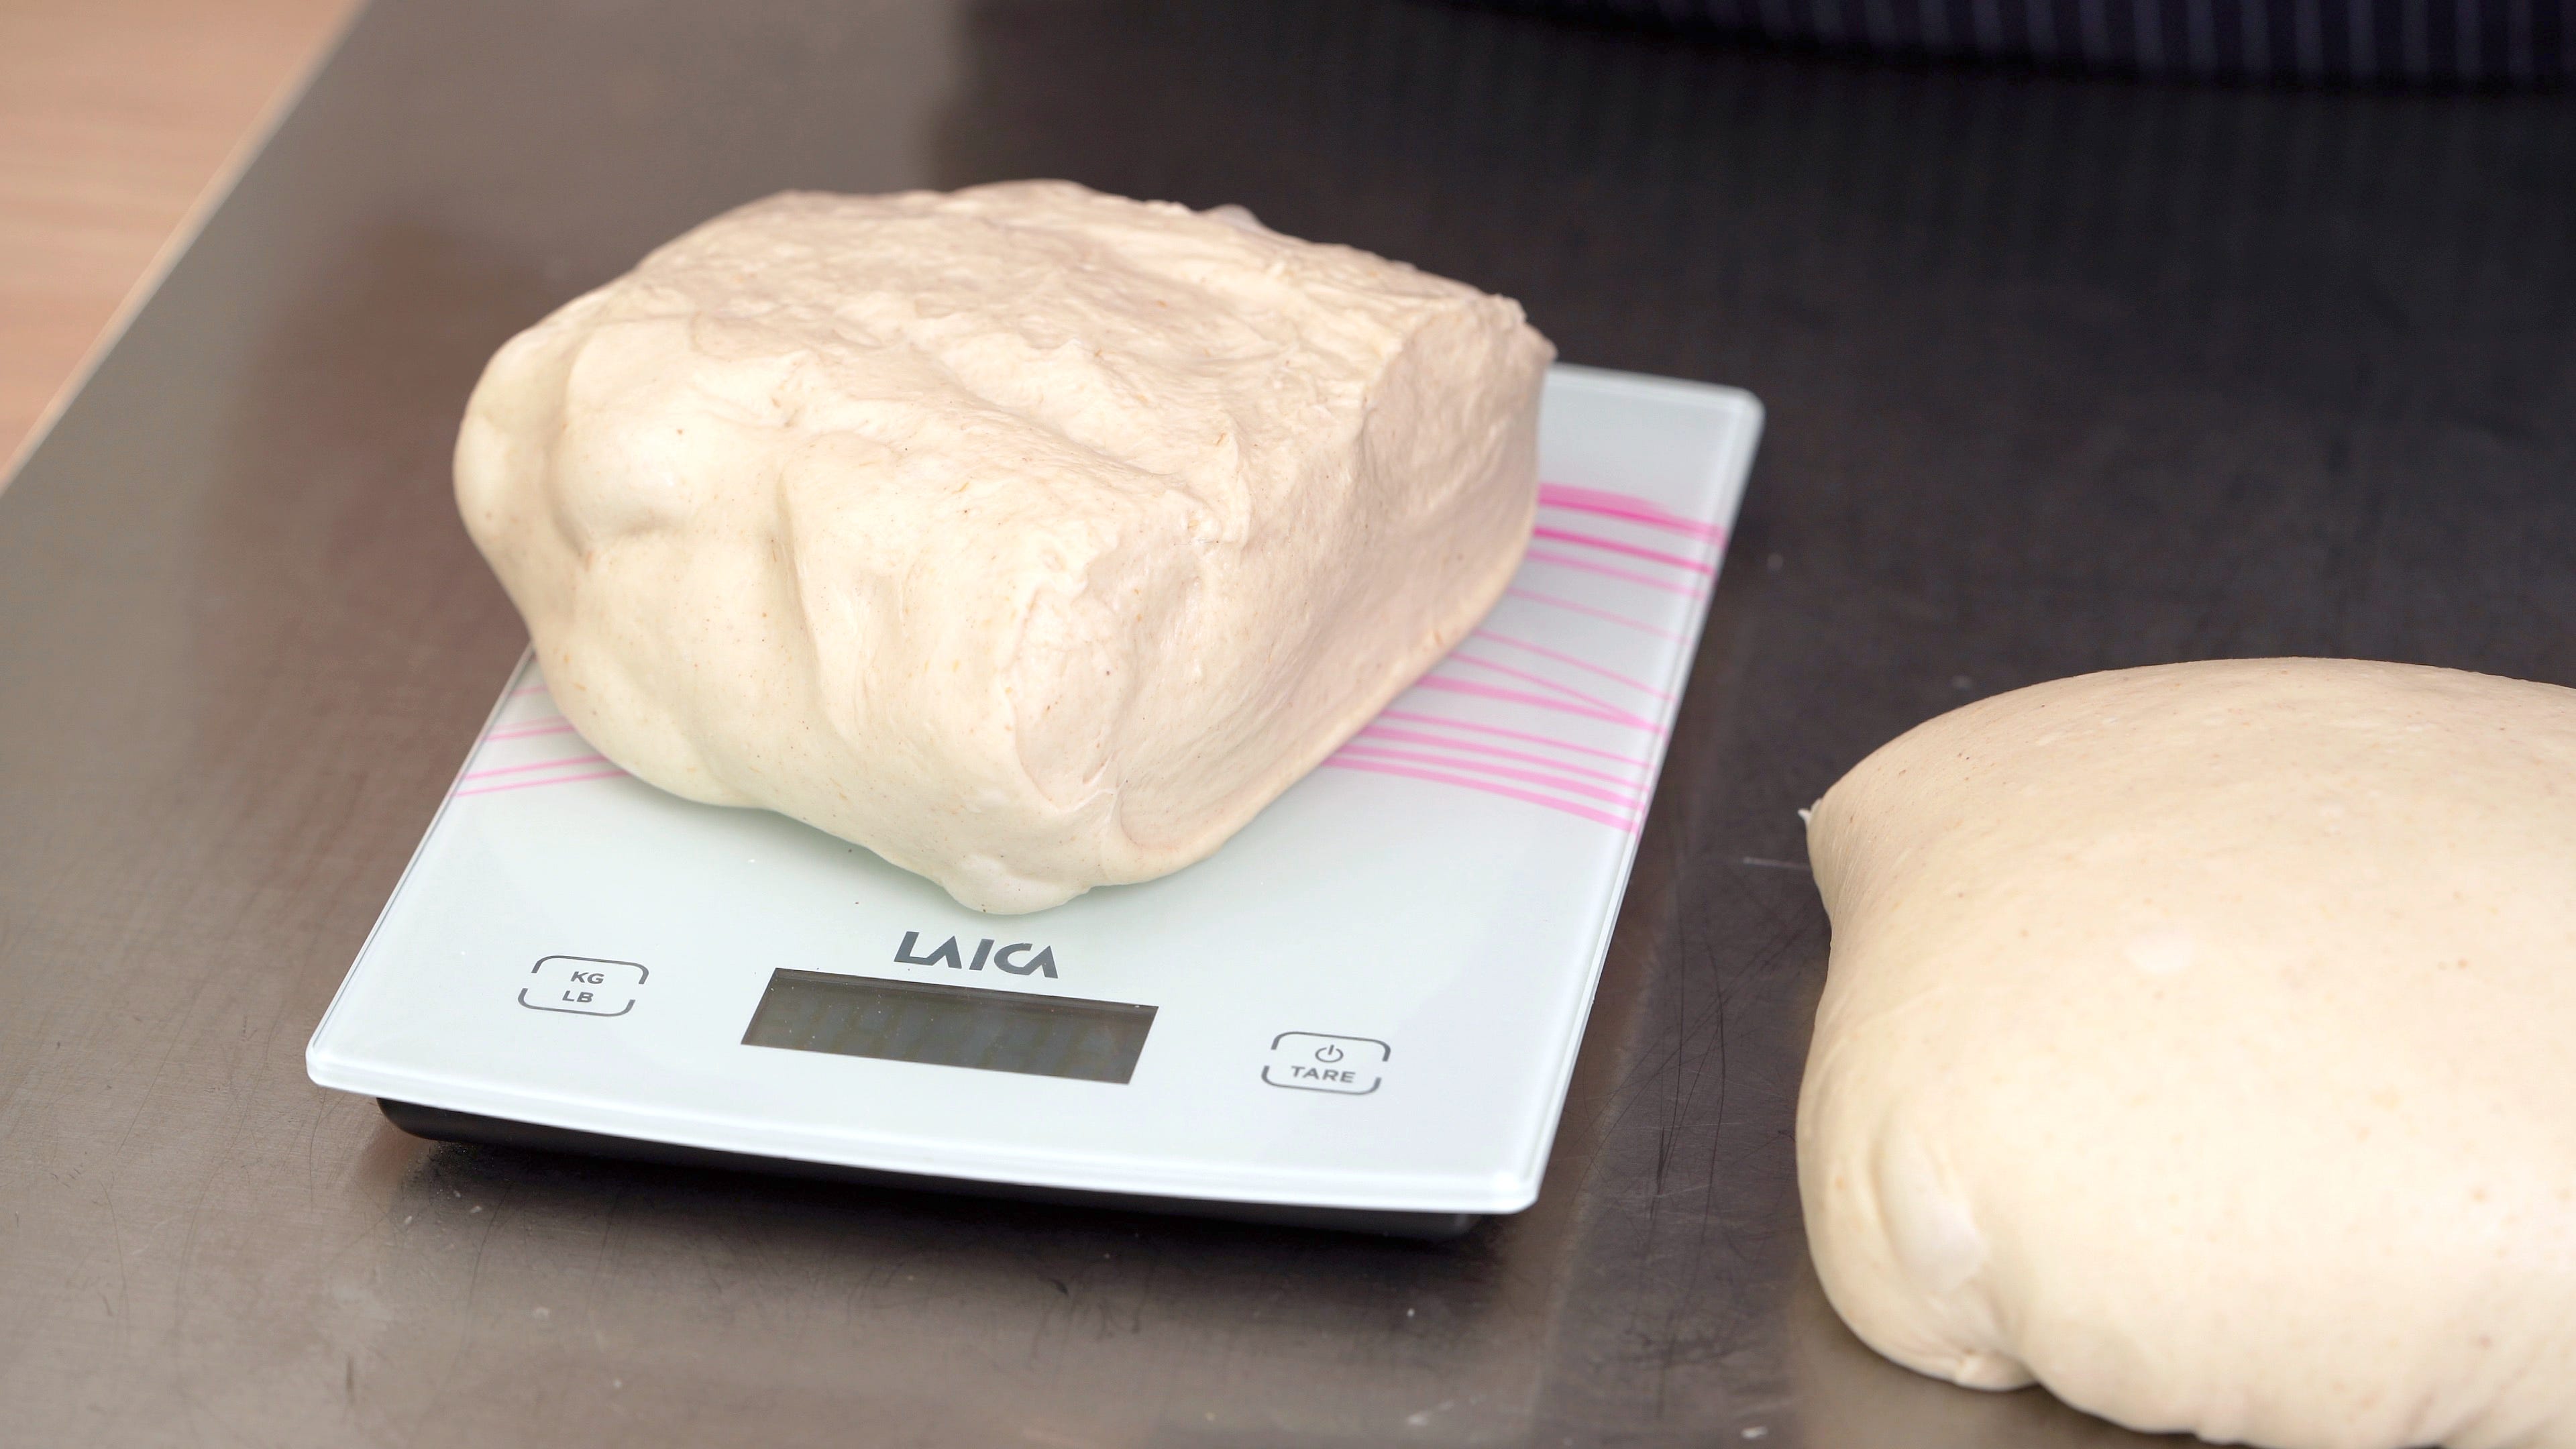
3) You still don’t have a scale to weigh ingredients.
This one mainly applies to Americans 😉
American recipes, going back to colonial times, often rely on volume (the physical amount of an ingredient) rather than weight (how much an ingredient weighs).
The rest of the world relies on weight. Why? Because weight is more accurate—and great baking with repeatable results requires precision.
American recipes often try to compensate by calling for “a level cup” or a “loosely packed cup.” Unfortunately, this still isn’t accurate. You can get away with it for some recipes, but for many, you’ll struggle to achieve consistent results.
The solution?
Buy a kitchen scale. These days, scales can cost as little as $5 and often include both metric and imperial units.
Other reasons a scale beats six different measuring cups:
less cleanup: just hit the tare button and add the next ingredient to the same bowl
not limited to recipes that specify volume
predictable, repeatable results
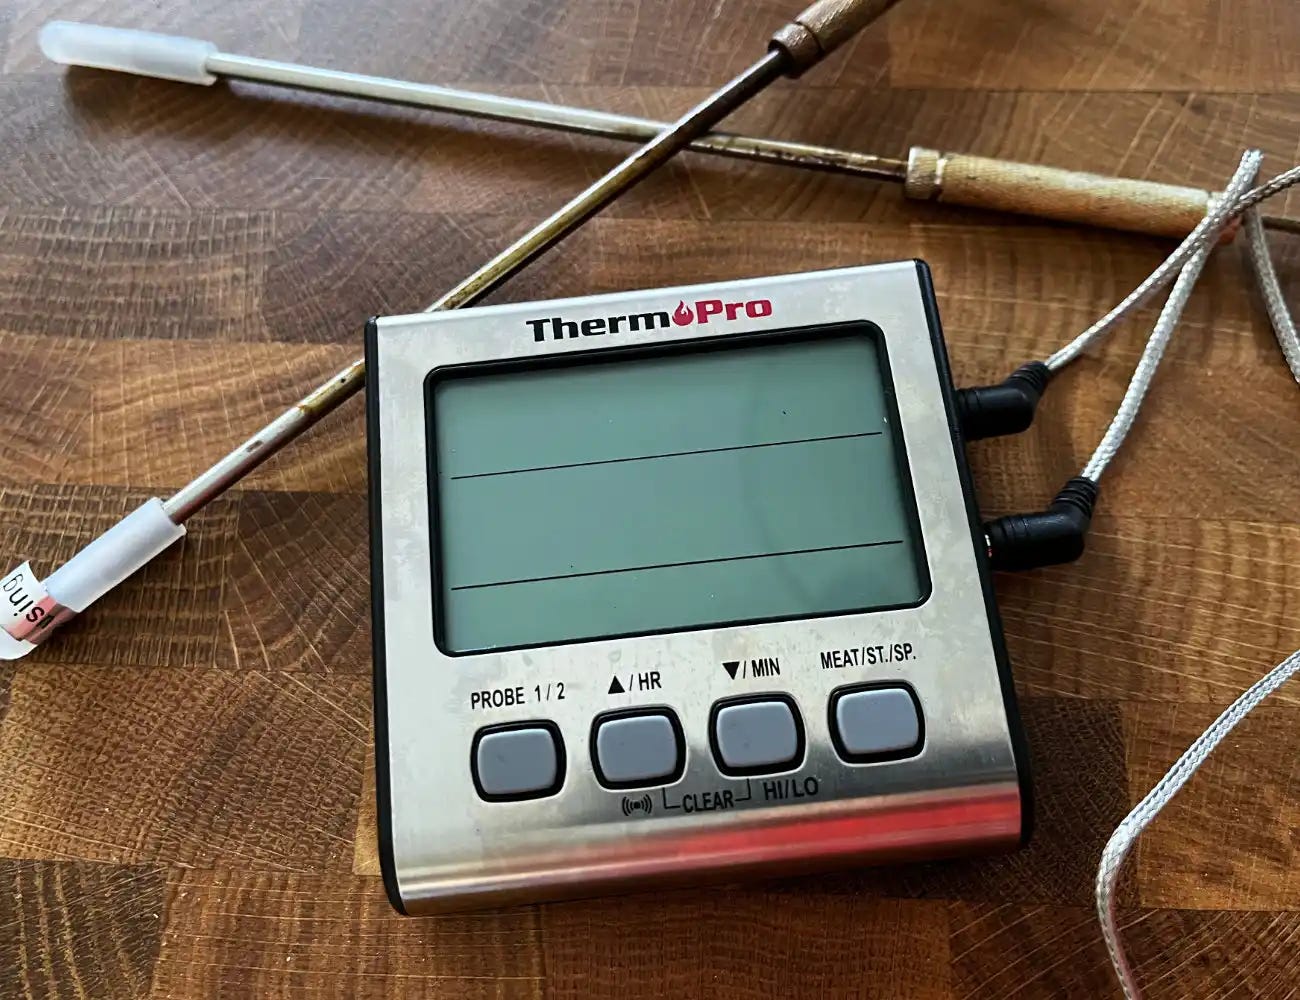
4) You don’t own a thermometer.
You are seriously limiting your baking journey if you don’t own a kitchen thermometer.
This may sound strange—you might be thinking, Don’t I only need thermometers for meat and fish?
Yes, thermometers are essential for cooking meat and fish because they eliminate guesswork. But they’re also critical for many baking applications, including:
Meringues: Any time you’re working with eggs (and not using pasteurized eggs), you risk foodborne illness without a thermometer. Avoiding meringues altogether means missing out on a whole world of desserts.
Checking doneness: With a thermometer, you never have to crack open a bread or cake to see if it’s done. This is especially important for leavened breads and cakes, which don’t always pass the “toothpick test.”
Caramels, syrups, and candies: All require precise temperatures to succeed.
The solution?
Buy a thermometer. Digital thermometers can be found for under $10. Probe thermometers are great, and oven-safe probes that can stay in your food while it cooks are even better.
5) Whipping eggs: you don’t want to learn how.
Whipped eggs are a base ingredient in countless baking and dessert recipes.
I’ll never forget my first experience learning to crack eggs in high school. My mother—who had no interest in cooking—sent me to my grandmother when I wanted to learn how to make the desserts she refused to make.
Grandma bought a few cartons of the cheapest eggs she could find. I was petrified of splattering egg everywhere. I don’t remember how many eggs it took before I got the hang of it, but I clearly remember my grandmother, exasperated, saying:
“Nicole! Just give it a good whack on the side of the bowl!”
Fast forward to college, and my fear of cracking eggs had evolved into a fear of whipping them. I stuck to recipes that required only a brief whisk. Any kind of egg whipping—whites or whole—terrified me.
I tried once or twice, but the whites seemed to take forever and never whipped properly. I didn’t understand what I was doing wrong and eventually gave up.
The solution?
Follow the tips below. Whipping eggs—both whites and whole eggs—is easy once you understand the basics.
Whipping Egg Whites
A hand mixer or stand mixer is strongly recommended; whipping whites by hand can be exhausting.
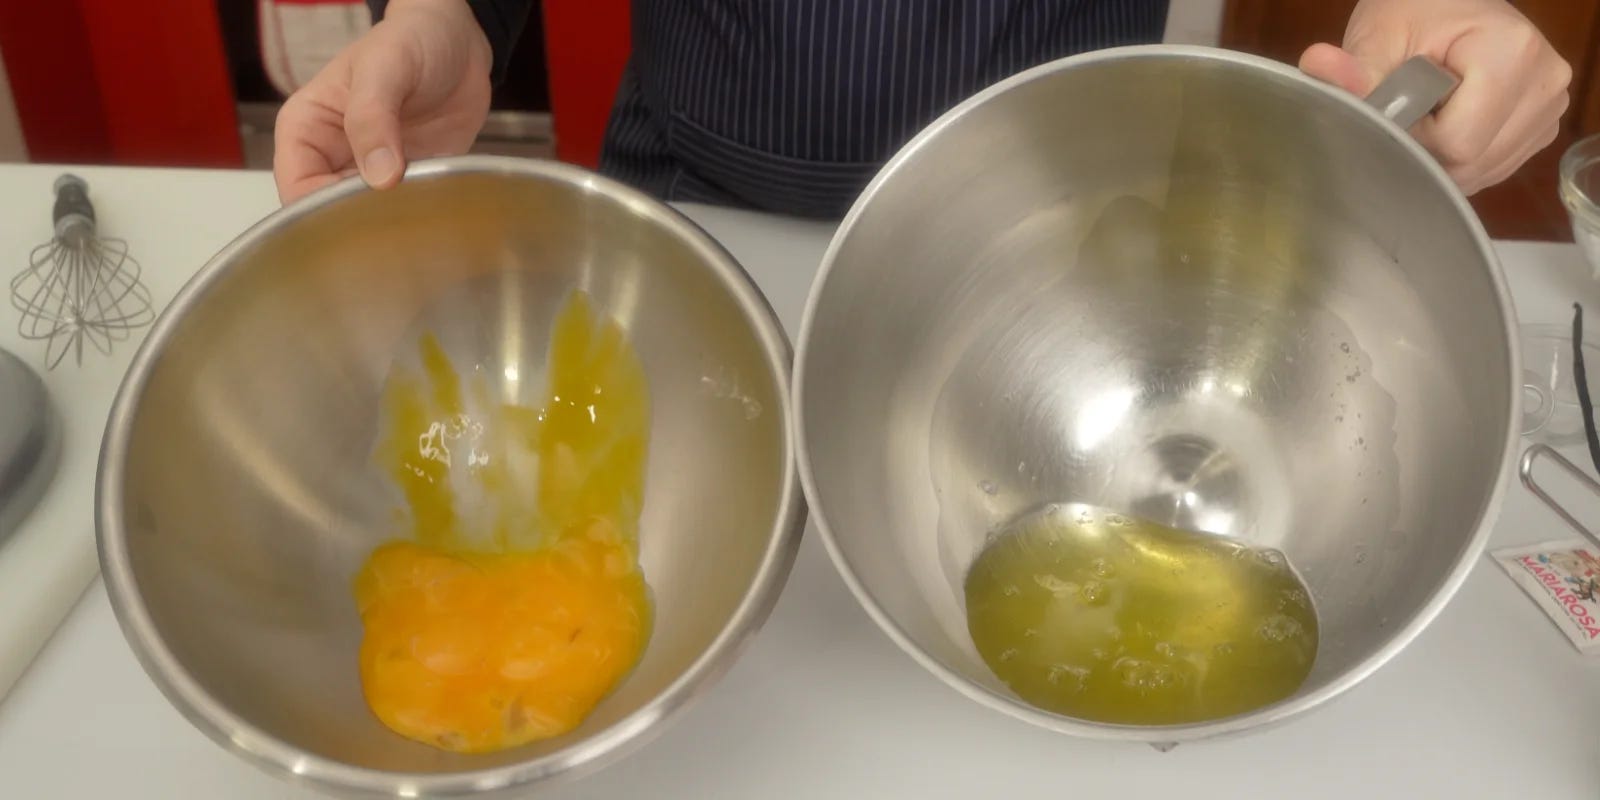
Separate the whites from the yolks while the eggs are cold. This gives you a cleaner separation.
Separate each egg over a small bowl first. If a yolk breaks, you won’t contaminate all the whites.
Egg whites must be completely free of yolk to whip properly.
Use a clean bowl with no fat or grease—this is critical.
Warm whites whip faster. You can briefly warm them over a bowl of hot water or add a tablespoon of hot water while whipping. This is optional but helpful.
Start whipping at low speed and gradually increase as the whites gain volume.

Whipping Whole Eggs
Many of the same principles apply when whipping whole eggs for cakes or pastry creams.
Use a clean bowl free of fat or grease.
Warm eggs whip faster. Briefly warming them over hot water or adding a tablespoon of hot water can help.
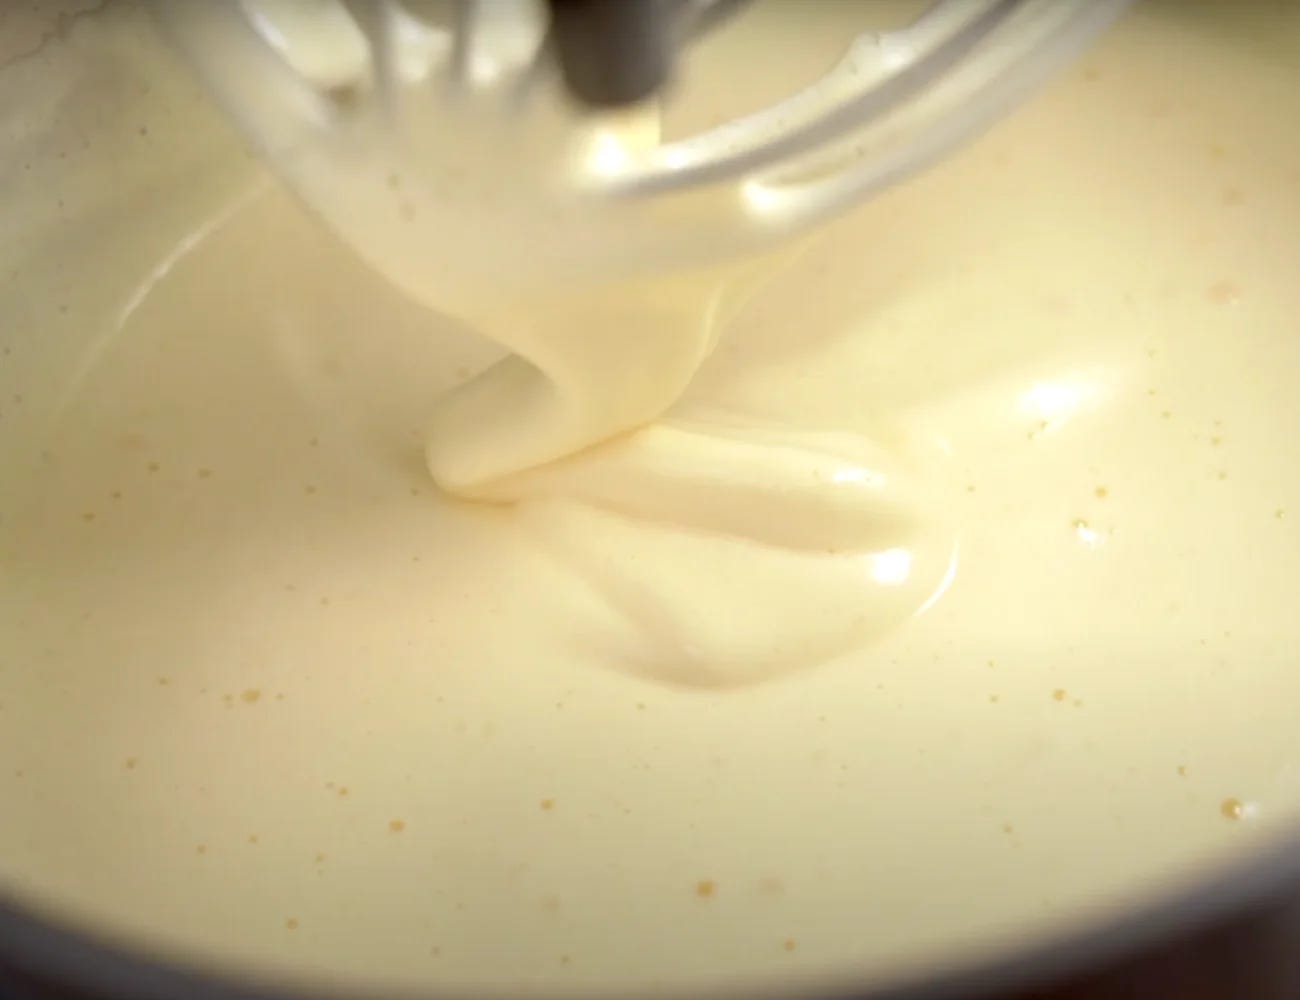
Whole eggs take much longer to whip than whites. For example, when making my Italian Almond Cake, I set a timer for 15 minutes and walk away.
Don’t stop too soon. When whole eggs provide the primary leavening, whipping until pale and full of air is essential.
Start on low speed and gradually increase as the eggs aerate.

Whipping whole eggs for an Italian Almond Cake.